

Did you know you can talk to Windows to issue commands, open applications, dictate text, and perform other tasks?
You can do that in Windows 10 through Cortana, but you can also talk to Windows 10 and previous versions of Windows using the built-in speech recognition. Or dictate text on Windows 10 Fall Creators Update or later.
After teaching Windows to understand the sound of your voice, you can then talk to the OS to get it to respond to your commands. The speech-recognition feature can be especially helpful for people with disabilities who can't use the keyboard or mouse. But it's available to anyone who'd like to try talking to Windows instead. The feature even serves up a reference guide so you know what commands and other tasks you can throw at Windows via your voice.
More recent versions of Windows 10 also offer a dictation feature you can use to create documents, emails, and other files via the sound of your voice. Once the dictation is active, you can dictate text as well as punctuation marks, special characters, and cursor movements.
Let's check out how to use speech recognition and dictation in Windows.
This article originally appeared on PCMag.com.
Trigger Dictation
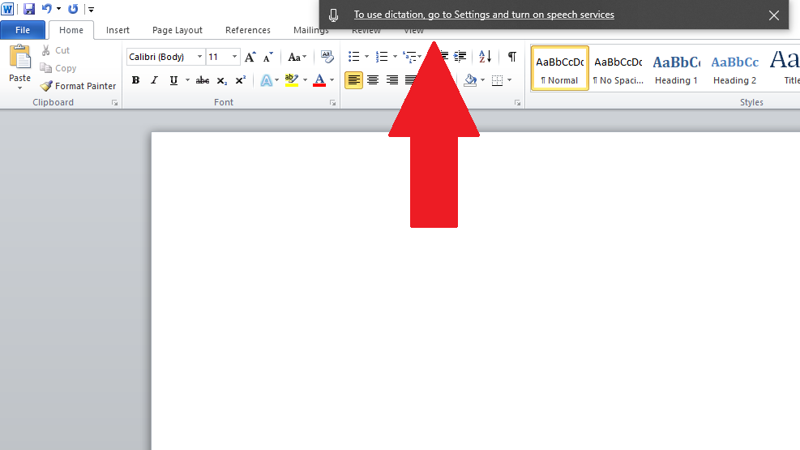
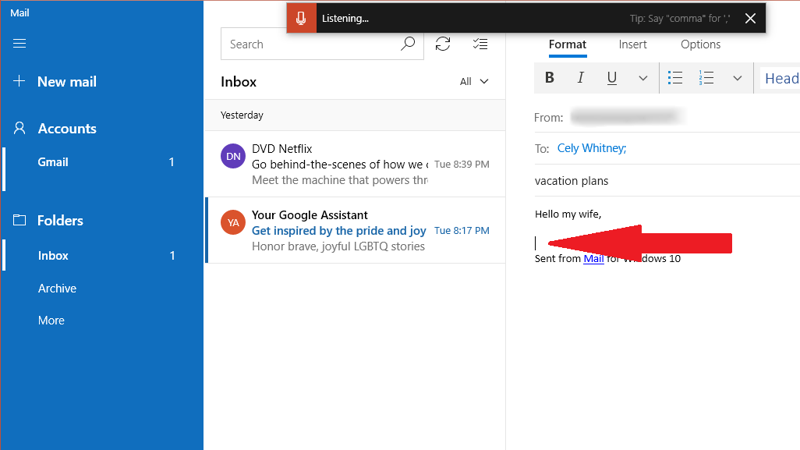
Open an application in which you want to dictate text, such as Notepad, WordPad, Microsoft Word, or your email software. As long as you're running the Windows 10 Fall Creators Update or higher, you can trigger the dictation by pressing the Windows key + H. If you have not enabled speech services, a pop-up will tell you to do so in Settings.
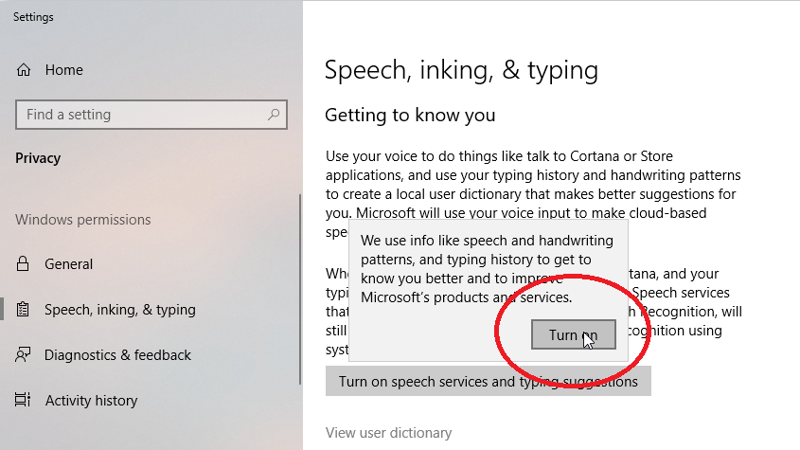
Enable Speech Services
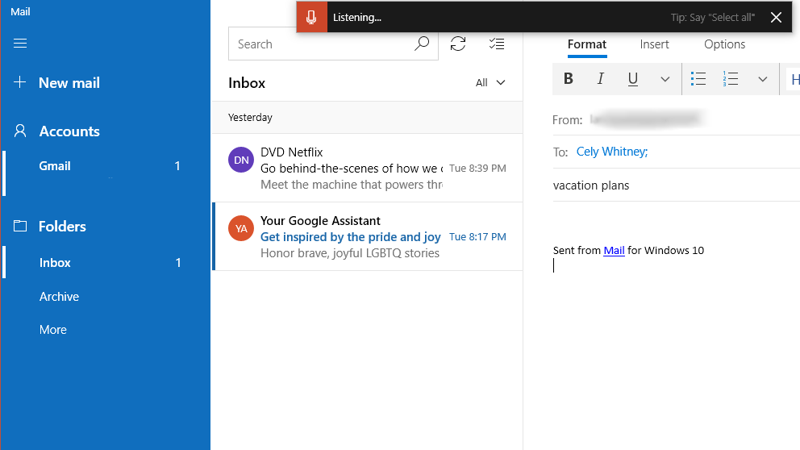
Trigger the Dictation Feature
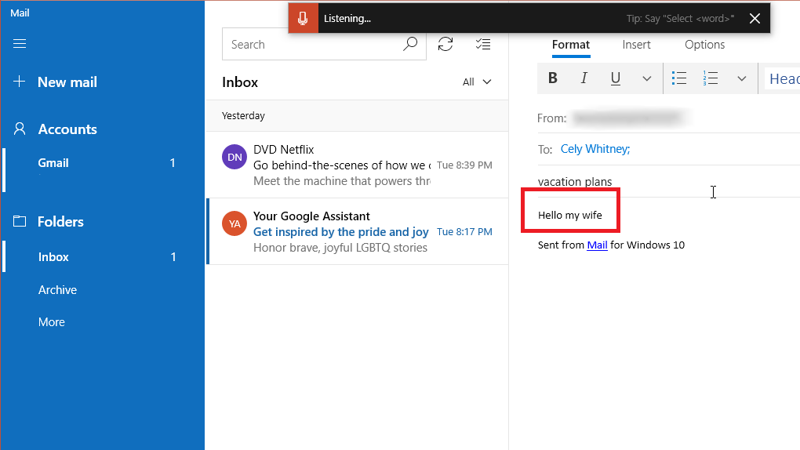
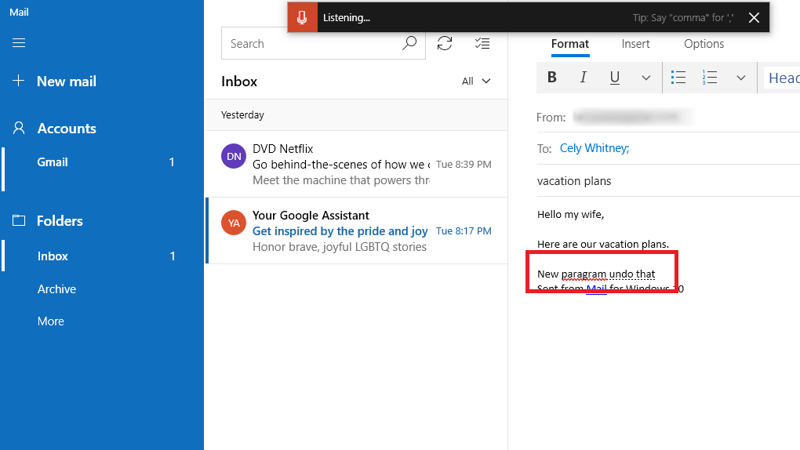
Issue Commands
Dictating Punctuations and Formatting
Here are the punctuation characters and symbols you can dictate, according to Microsoft:
| To Insert This: | Say This: |
|---|---|
| @ | at symbol; at sign |
| # | Pound symbol; pound sign; number symbol; number sign; hash symbol; hash sign; hashtag symbol; hashtag sign; sharp symbol; sharp sign |
| $ | Dollar symbol; dollar sign; dollars symbol; dollars sign |
| % | Percent symbol; percent sign |
| ^ | Caret |
| & | And symbol; and sign; ampersand symbol; ampersand sign |
| * | Asterisk; times; star |
| ( | Open paren; left paren; open parenthesis; left parenthesis |
| ) | Close paren; right paren; close parenthesis; right parenthesis |
| _ | Underscore |
| - | Hyphen; dash; minus sign |
| ~ | Tilde |
| \ | Backslash; whack |
| / | Forward slash; divided by |
| , | Comma |
| . | Period; dot; decimal; point |
| ; | Semicolon |
| ' | Apostrophe; open single quote; begin single quote; close single quote; close single quote; end single quote |
| = | Equal symbol; equal sign; equals symbol; equal sign |
| (space) | Space |
| | | Pipe |
| : | Colon |
| ? | Question mark; question symbol |
| [ | Open bracket; open square bracket; left bracket; left square bracket |
| ] | Close bracket; close square bracket; right bracket; right square bracket |
| { | Open curly brace; open curly bracket; left curly brace; left curly bracket |
| } | Close curly brace; close curly bracket; right curly brace; right curly bracket |
| + | Plus symbol; plus sign |
| < | Open angle bracket; open less than; left angle bracket; left less than |
| > | Close angle bracket; close greater than; right angle bracket; right greater than |
| " | Open quotes; begin quotes; close quotes; end quotes; open double quotes; begin double quotes; close double quotes; end double quotes |
Fixing Mistakes
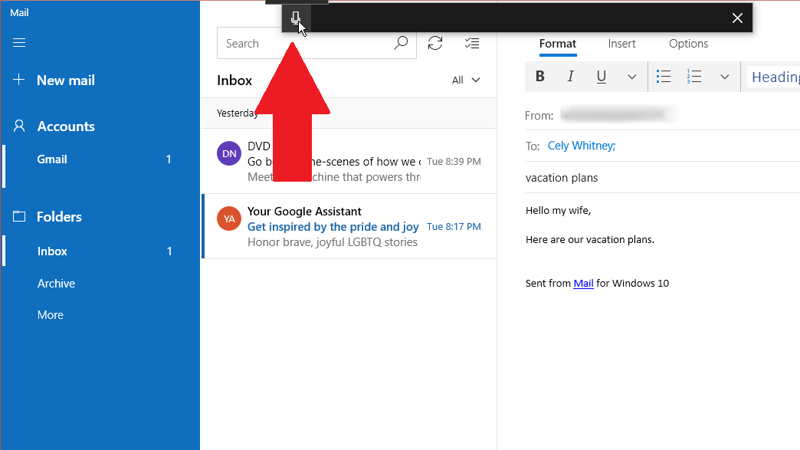
Starting and Stopping Dictation
Editing Through Dictation
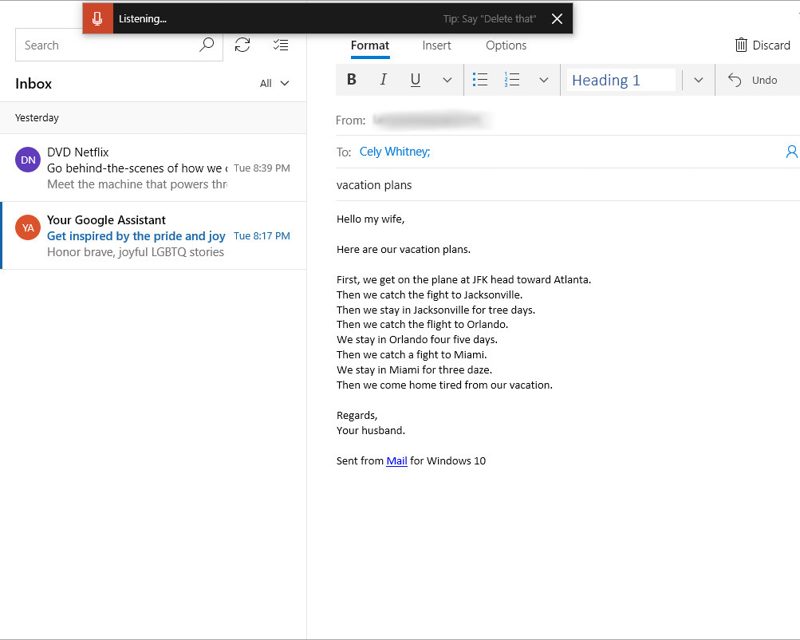
Here are the editing commands you can dictate, according to Microsoft:
| To Do This: | Say This: |
|---|---|
| Clear a selection | Clear selection; unselect that |
| Delete the most recent dictation result or currently selected text | Delete that; strike that |
| Delete a unit of text, such as the current word | Delete [word] |
| Move the cursor to the first character after a specified word or phrase | Go after that; move after [word]; go to the end of [paragraph]; move to the end of that |
| Move the cursor to the end of a unit of text | Go after word; move after [word]; go to the end of that; move to the end of [paragraph] |
| Move the cursor backward by a unit of text | Move back to the previous word; go up to the previous paragraph |
| Move the cursor to the first character before a specified word or phrase | Go to the start of [word] |
| Move the cursor to the start of a text unit | Go before that; move to the start of that |
| Move the cursor forward to the next unit of text | Move forward to the next word; go down to the next paragraph |
| Move the cursor to the end of a text unit | Move to the end of [word]; go to the end of the paragraph |
| Enter one of the following keys: Tab, Enter, End, Home, Page up, Page down, Backspace, Delete | Tap Enter; press Backspace |
| Select a specific word or phrase | Select [word] |
| Select the most recent dictation result | Select that |
| Select a unit of text | Select the next three words; select the previous two paragraphs |
| Turn spelling mode on and off | Start spelling; stop spelling |
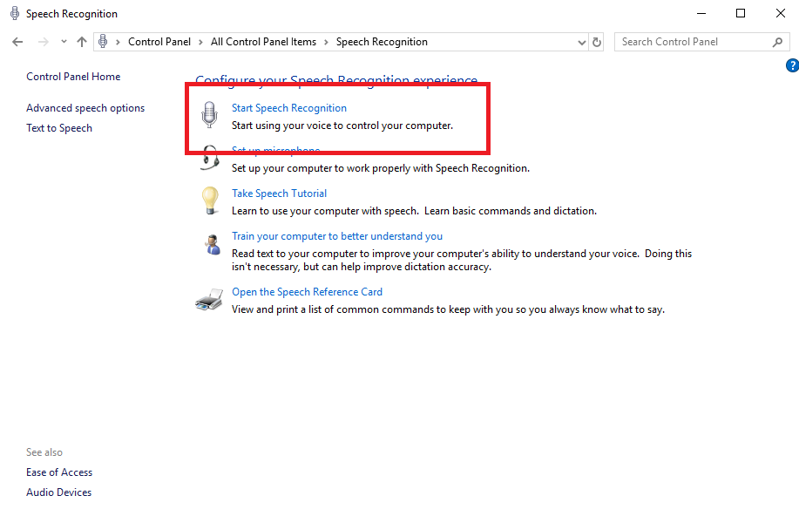
Activate Speech Recognition
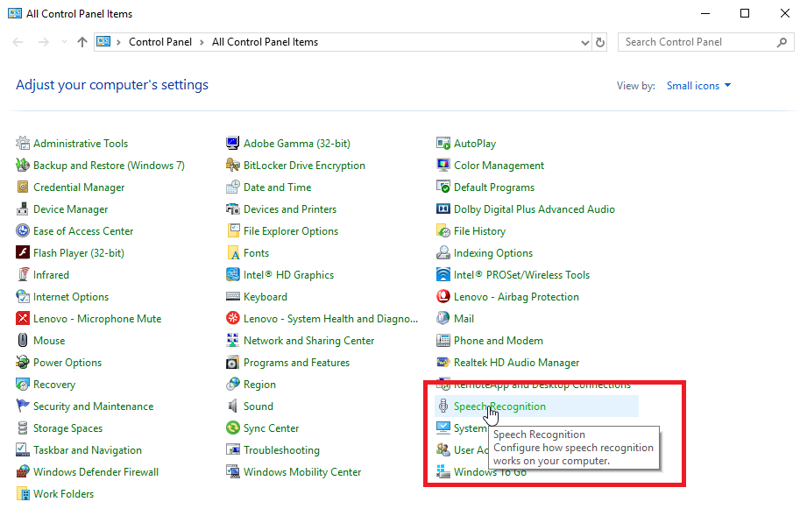
Start Speech Recognition
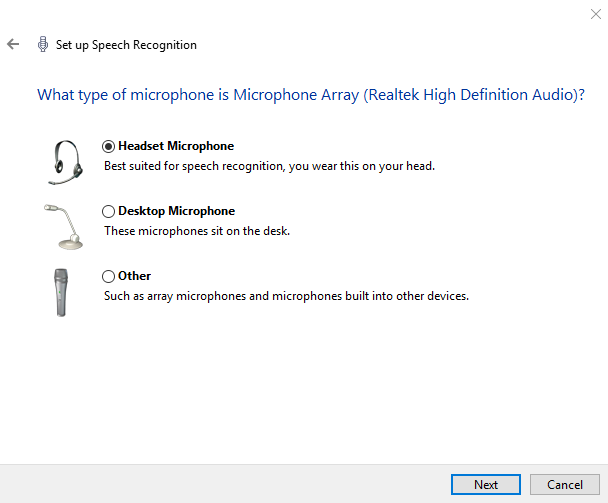
Select Microphone
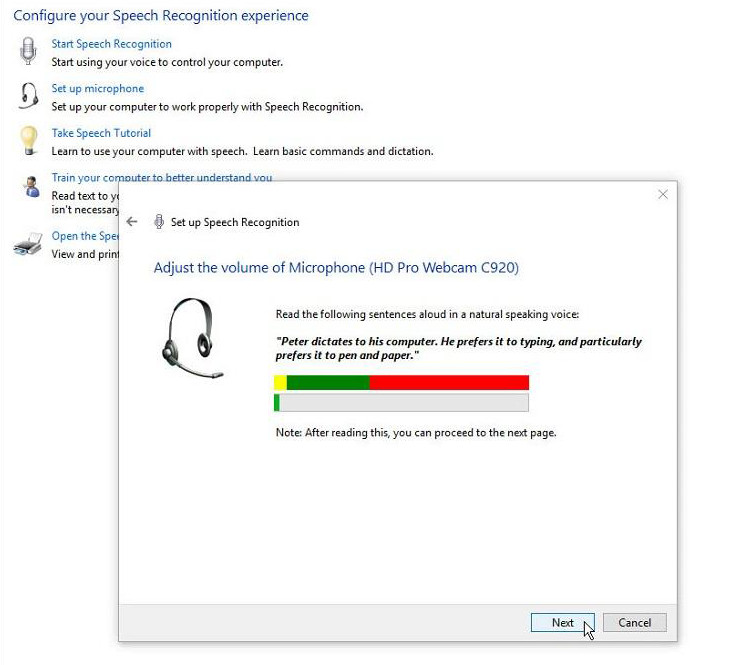
Read Aloud
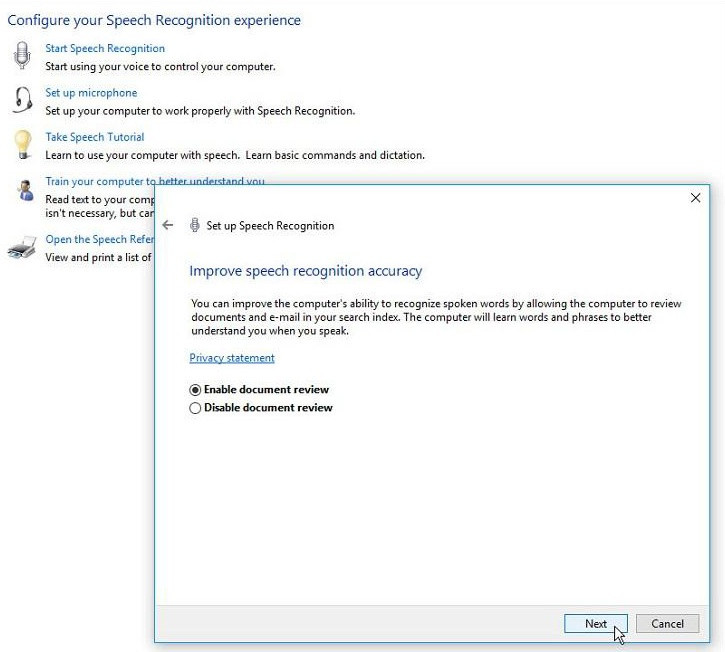
Document Review
Activation Mode
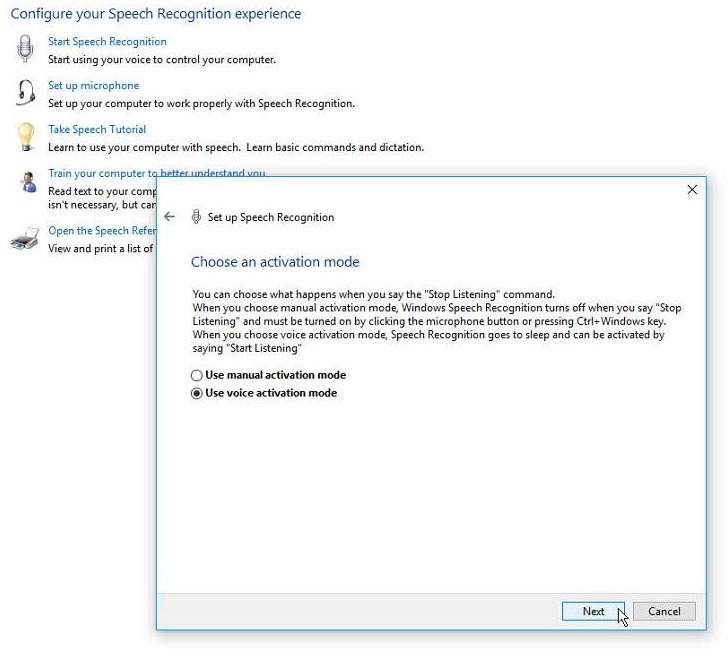
At the next screen for activation mode, choose the first option to "Use manual activation mode" if you want to turn off speech recognition when you're done with it and are willing to click the onscreen microphone button to restart it. Otherwise, choose the second option to "Use voice activation mode" to put speech recognition to sleep when you're done with it and say "Start listening" to wake it up. Click Next.
At the next screen, you can view a Reference Sheet listing all the commands you can issue via your voice. Click the button to "View Reference Sheet" to open and read a webpage with all the voice commands. Then return to the speech recognition setup and click Next.
Run at Startup
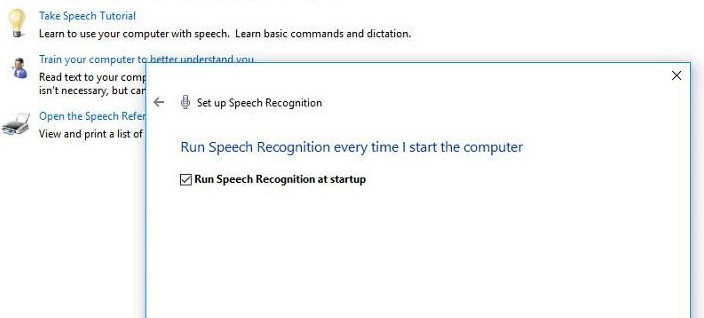
At the next screen, choose whether you want Speech Recognition to automatically load each time you start Windows. Click Next.
At the next screen, you can opt to run a tutorial to learn and practice the commands that you can issue by voice. Click the button to "Start tutorial" to run this, or click the button to "Skip tutorial" to bypass this part.
If you chose to run the tutorial, an interactive webpage pops up with videos and instructions on how to use speech recognition in Windows. The Speech Recognition control panel also appears at the top of the screen.
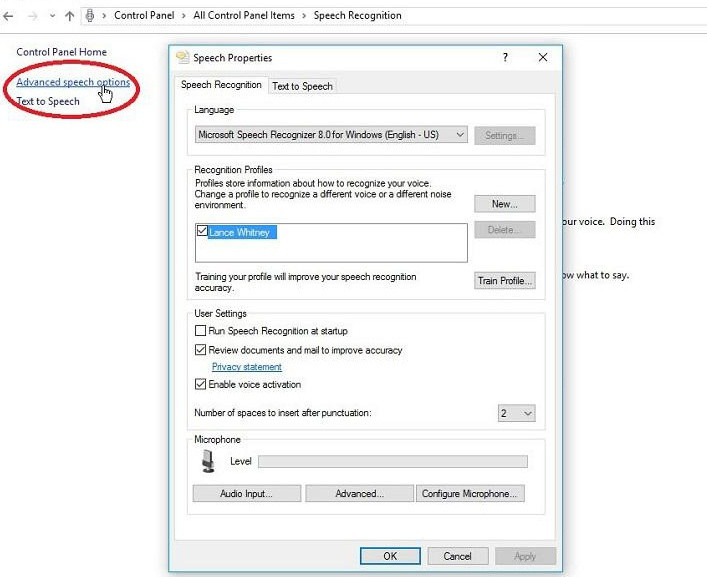
Customize and Control
Features and Options
